 Isaac Codex
If you have just taken the seventh sacrifice, stop before walking over the spikes again: hit eight spawns seven Troll Bombs. If you are chasing the big payout at ten, remember that it can be coins instead of health. From hit twelve onward, each sacrifice can send you to the Dark Room.
This reference covers ordinary Repentance / Repentance+ runs. It is not a route guide for Challenges or Daily Runs, where destination restrictions can apply. Count sacrifices already taken in this room, then look at the next number below.
Only count sacrifices that actually deal damage. A shield blocking the hit does not advance the reward. Keep the count for the spikes you are using: separate Sacrifice Rooms on the same floor have separate counts. Separately spawned spikes, such as those created by the D12, also have their own counters; this reference assumes you keep using the same spikes.
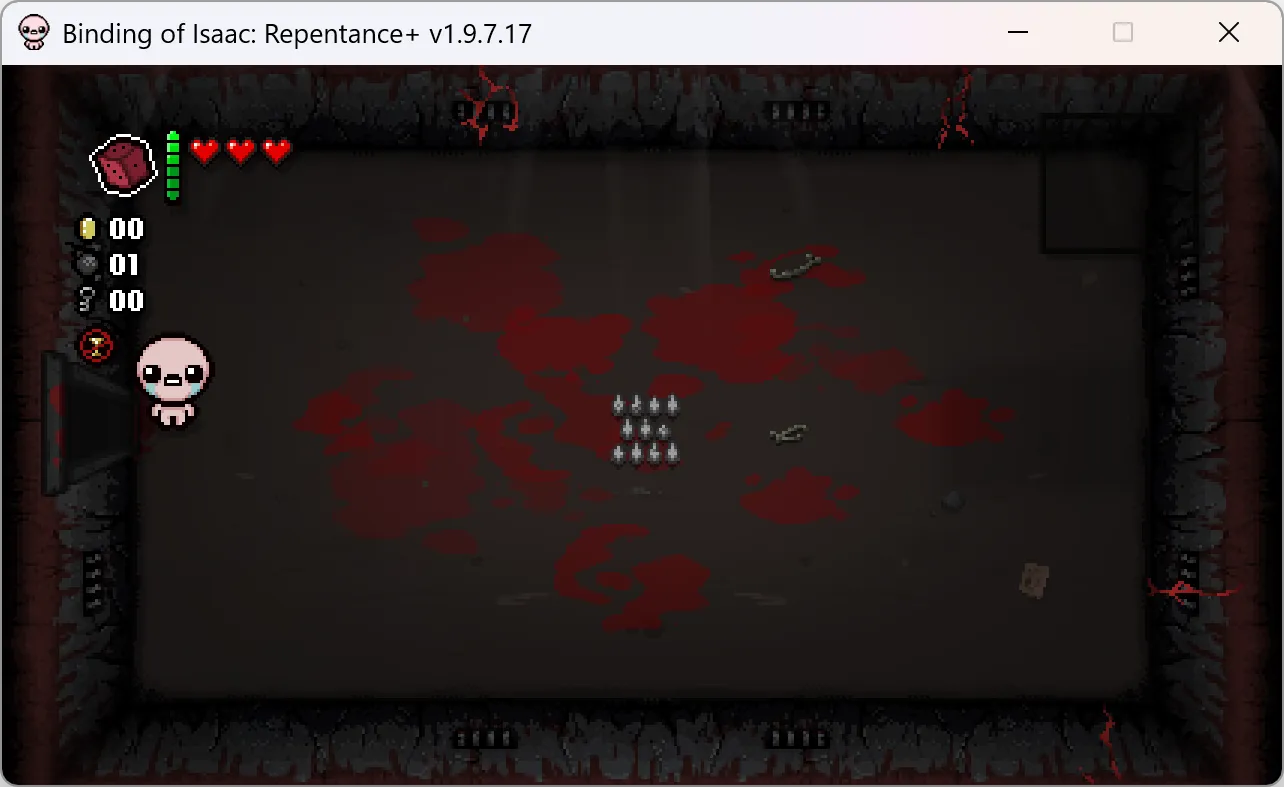
Find your place before taking another hit
- No reliable count? The picture above does not tell you how many sacrifices have happened. Do not guess from the hearts left on the HUD; count the damage-triggering sacrifices in this room as you take them.
- Five completed? Your next sacrifice is six: a chance to teleport, not a guaranteed trip.
- Six completed? Your next sacrifice is seven: an item-or-heart roll, with the Redemption exception below.
- Seven completed? Your next hit brings bombs. Getting to ten means paying for three more sacrifices and dealing with Uriel along the way.
- Eleven or more completed? Each next hit risks a Dark Room teleport. Finish anything you want on this floor first.
A reward number means the sacrifice you are about to take. If you have already taken seven, read row 8, not row 7.
Want to keep count while you play? Open the Sacrifice Room counter. Add one after each damage-triggering sacrifice on the same spikes; the tool keeps the completed count and shows what comes next.
The next-hit reference
These are the ordinary payouts, outside the Broken Shovel unlock setup.
| Next hit | Possible reward | Before you step on it |
|---|---|---|
| 1 or 2 | 50%: one penny; otherwise nothing | Do not expect early hits to pay for themselves.¹ |
| 3 | 67%: favor an Angel Room this floor; otherwise nothing | This changes room selection, not whether a deal room appears. |
| 4 | 50%: a random chest; otherwise nothing | A chest is not a guaranteed heal. |
| 5 | 67%: stronger Angel Room preference; otherwise three pennies | The blessing is still only for this floor. |
| 6 | 33%: Angel Room teleport; otherwise a chest | If you entered this floor’s Devil Room, the teleport goes there instead. |
| 7 | 33%: Angel Room item; otherwise one Soul Heart | A previous Devil Deal can introduce Redemption instead.² |
| 8 | Seven Troll Bombs | Move off the spikes as soon as they appear. |
| 9 | Uriel appears | Expect an angel encounter, not a health pickup. |
| 10 | 50%: seven Soul Hearts; otherwise thirty pennies | Coins cannot rescue a plan that depends on healing here. |
| 11 | Gabriel appears | Another angel encounter. |
| 12 and later | 50%: Dark Room teleport; otherwise nothing | Stop if leaving this floor would spoil your route. |
¹ Broken Shovel unlock attempts have an early bomb exception. Do not use the first two rows to plan that unlock.
² After a previous Devil Deal, unlocked Redemption can replace the Soul Heart outcome. The cached Redemption entry describes a 50% replacement chance when that outcome is selected, not a 50% chance across every seventh sacrifice. If Redemption has already been taken, the room notes describe an Angel Room item instead. Treat this as a special branch, not the ordinary item-or-heart row.
Pick a stopping point before you start
For an Angel Room opportunity, six and seven are useful checkpoints. Neither guarantees an item. At six, even a successful teleport may take you back to a Devil Room you already visited on this floor. At seven, the usual alternative to an item is one Soul Heart.
The decision changes immediately after seven. You are no longer taking another similar gamble: eight brings bombs, nine brings Uriel, and only then does ten offer its larger payout. Look at the entire stretch before committing to it.
No fixed “always stop at seven” rule works for every character or build. Spare healing, defensive effects and your intended route change the decision. The table tells you what comes next; it cannot certify that your character can afford it.
“You feel blessed” is easy to misread
The 67% shown for hits three and five is the chance to receive the blessing. It does not mean you now have a 67% chance for an Angel Room to appear.
The effect favors an Angel Room over a Devil Room if a deal room appears on the current floor. It does not raise the overall chance of a room appearing. That distinction matters if you were counting on a blessing to create a deal that otherwise would not exist.
The twelfth hit is a route decision
After Gabriel at eleven, “one more” can mean leaving the floor. Starting at twelve, each sacrifice has a 50% Dark Room teleport chance. A failed teleport roll is not a reset to the early rewards: later hits keep that teleport risk.
If you still need something on the floor, or you are following a different route, stepping away is a valid finish. You do not need to exhaust the room.
Version, sources and limits
Reward facts are adapted from revision 268353 of Sacrifice Room on the Rebirth Wiki, fetched 10 September 2026 and reviewed in Isaac Codex’s maintained reference on 13 September. The table is reorganized around the reader’s next action; stopping-point advice and the planning example are editorial interpretation. The room overview is an authentic PC capture from a debug/mod-assisted scene. It does not test the reward sequence or probabilities.
Attribution: Contributors to Sacrifice Room, The Binding of Isaac: Rebirth Wiki (wiki.gg). This adapted text is available under CC BY-SA 4.0. Game artwork is separately owned. This article does not establish behavior in the Switch 2 edition.
For the other room that can unexpectedly change a run, keep the Dice Room reference nearby.
Special-case cross-checks also use the wiki contributors’ Redemption revision 268572 and Broken Shovel revision 266533, both fetched 10 September 2026. These are cached source checks, not a live current-build verification. Their adapted text follows the same attribution and CC BY-SA 4.0 terms above.
The cached room table and Broken Shovel entry differ on which early sacrifices qualify for the bomb exception. This guide excludes that unlock setup rather than promising or ruling out a second bomb.